|
Hello everyone, Back to share with you some organization I did recently. On the left is the "after", on the right, is the "before". I was saving left over plastic and tin bins from the recycling to store my dies, stencils and embellishments. I was running out of room in my craft closet, so I thought it was best to upgrade to a larger box. I purchased the boxes on the left from Michael's. The first one has adjustable separators to make bigger or larger dividers. The one next to is is a 'photo box' but it is perfect to store all the dies, embossing folders and stencils. really saved me some space and now I can see all my embellishments in one spot. One thing I would like to do next is to get some storage pockets for my dies and stencils. I think that will make the box a little more organized and easier to flip through. Embellishment box: http://www.michaels.com/clear-plastic-case-by-recollections/10149891.html#pmpt=qualifying&sz=24&start=37 Dies, stencils and embossing folders: http://www.michaels.com/recollections-memory-box-black/10023305.html#pmpt=qualifying&start=2 I hope you're enjoying a crafty weekend! Thanks for stamping by! 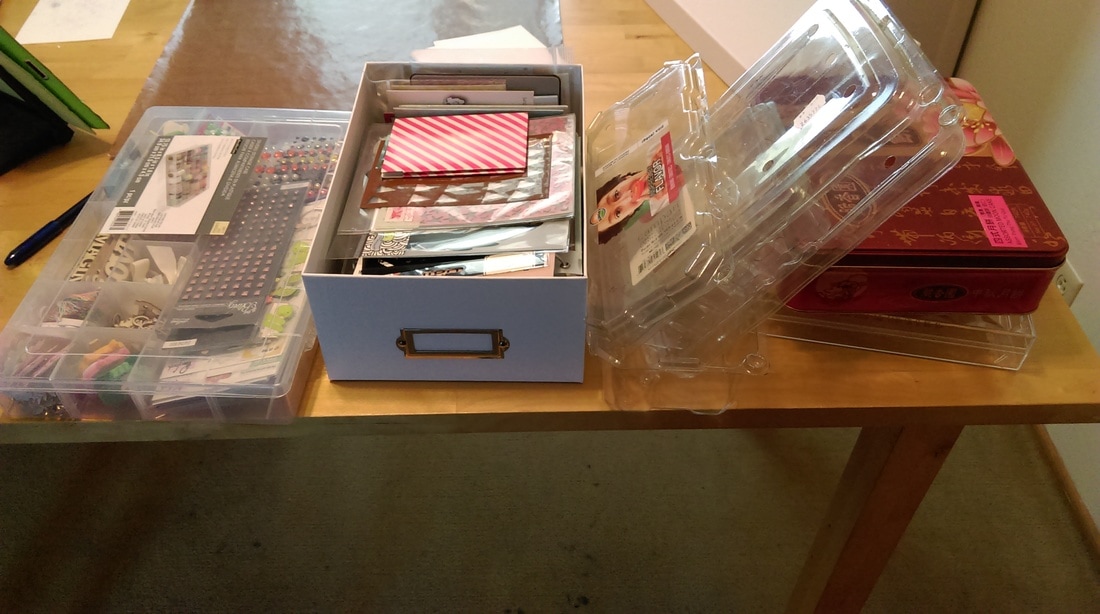
Hello everyone,
Part 2 of my Scrapbook Expo experience this year. Even though I went by myself, I made a friend while eating lunch (Hi Gwen!) . Here are all the goodies I purchased this year. I try to pick up things that I don't already have, and of course I like see what new product some of my "favorite" booths have, plus find some new booths along the way. I wish I could say I was more organized, but there are some booths that I do not remember what the name of the booths I bought product from! One booth that I have fallen in love in the last couple of years isRubbernecker stamps! They do red rubber cling and have a watercolor feel to them. They were at the Expo this year and I picked up a few new items from them (background stamps - striped and script), and some focal image stamps (tulips and forest) (Note: these are not the true product names). The coolest thing they added to their line is coordinating dies! Now you don't have to fussy cut your image (I am sad to admit -- I never even tried to! I just let these images take center stage on my cards). But I picked up dies to two stamp sets I have (poppies and large tree). I just about squealed out loud when I saw the Nicole Petersen Designs' booth had the Tim Holtz Christmas Doodle stamps. I can't wait to heat emboss these!! (I might get started on my Christmas cards a little early!). I also picked up her storage pockets*. Many of my original stamp packages have split and are falling apart, and when I saw the pockets I knew it was a sign to organized better! So I picked up a 25 pack to get started. (Note: I stored all my stamps with the original package insert, and I lay my stamps flat in a drawer. They lay flat better than before! But I know I am quickly outgrowing that storage space). In another booth, I picked up some Echo Park enamel dots (I really love Doodlebug's -- thanks to Amy R!) and I thought these would be great to try on projects as well. At $2 a pop, I had to grab them. I also saw some Echo Park Stamp Sets. I don't have these types of stamps in my collection so I will see how they turn out on a card or two. (I love that typewriter button set!) I also picked up an Echo Park paper pack at the booth as well. At another booth I picked up those Spellbinders dies (*One alternate link used below). I really love what Becca Feeken and Yana Smakula do with Spellbinders dies on their projects. I use my Spellbinders A2 Card Creator on just about ever card, and by 3 get 1 free was a perfect deal for me. I believe I also picked up that second paper pack in the same booth. It is textured! So fun. At yet some more booths I picked up the Deco Art Foil (Gold), Art Impressions stamp positioner, stamp cleaner* by Close to my Heart, the Craft Scrubbie (which works fabulously btw!) and the Tim Holtz craft pick (Which I have been coveting for a looong time thanks to Jennifer McGuire!) I had a great time and picked up quite a few products for my craft closet. They will holdme over for the coming months. *When I couldn't find an exact match to what I bought I picked an alternate product link that was close enough to it and linked to it below
Affiliate Links Used
Hello everyone!
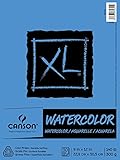
Another post here to share a card series that I made for the Scrapbook Expo that came to my area. This year I ended up going by myself, but thought it would be fun to do the card swap workshop. Please earn from my n00b experience, I thought I would sign up the day up -- a big no-no -- it was sold out!! I tried to asked the instructor directly, but was also turned down. No luck, but at least I get to share this project with you! Card Base is Neenah Desert Storm 80lb Card front is Canson XL Water color paper Stamp is by Kaiser Craft "Heart" - Dies and Stamps Embellishments include: Doodlebug Sprinkles in Bumblebee (glitter) and Tangerine (matte), Hello cut using "Painted Hello" by Simon Stays Stamp with barc wood by Art Alternatives Inks used: Momento Tuxedo Black (heart image), Splatter with Momento Dew Drops in Potters Clay, Tangerine and Brilliance Galaxy Gold Thanks for stamping by! 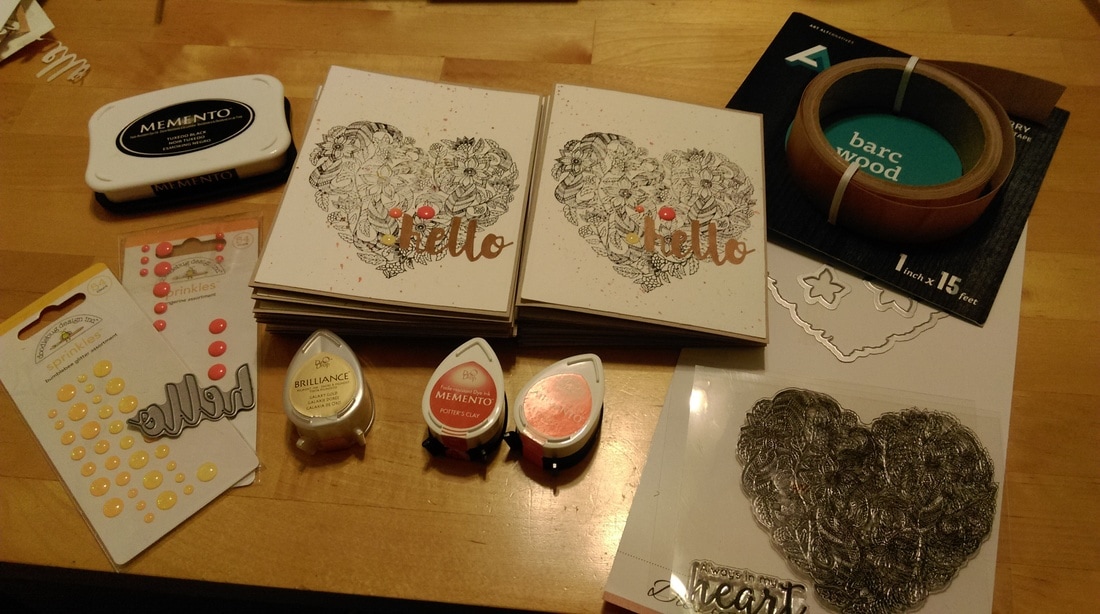
NOTE: AFFILIATE LINKS USED
If you’re new to my blog, let me share my how I entered into this craft, first I watched a TON of YouTube videos. I know what you might be thinking ;) -- You Tube is AMAZING!! If you follow Kristina Werner and Jennifer McGuire, then you know how they are so encouraging at this craft that they make you feel like you can do it too! And with that self esteem boost, I was off to the craft store!
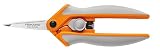
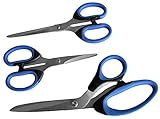
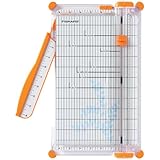
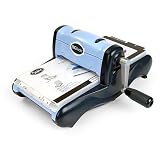
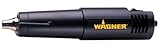
I started “small”. My first try at card making was Christmas cards*. I found a Christmas theme red-rubber wood mounted stamp at Michael’s, bought a Recollection pack of 50 card bases with envelopes as well as red and green ink pads. After that, I was hooked, and for Christmas I received a paper trimmer, 12x12 paper pads and gift cards to Michael’s to get me stocked up on various supplies. *I have since learned that Christmas cards for card makers is a BIG DEAL. Let’s break down the first tip area: 1. Having the right tools can make your life easier! This is all very well and good, but if you go out and buy the most expensive products, and NEVER use them, then you will have wasted your money. To paraphrase the Frugal Crafter, the most expensive craft tool in your supplies is the one you DON’T use. I break tools down into two categories: primary tools and secondary tools. Primary tools – things you will need to use on almost every project. This includes: - Scissors - Bone folder - Paper trimmer Scissors: I have multiple pairs of scissors. They all serve a function. When I started to build up supplies, this was one of the first things I bought. I remember purchasing a mid-priced set of 3 scissors. This set had a long, medium and small pair of scissors. The long for trimming hanging edges, medium and small to trim out images. I also bought some decorative edging scissors (not the best purchase) and later a spring handle Fiskers scissors (per Jennifer McGuire product recommendation). The spring handle scissors have really great if you have some hand issues like I do!) Bone folder: I have a basic bone folder. While I am coveting the Teflon bone folder, my current bone folder still gets the job done scoring and gives a nice crease to my card bases. Paper trimmers: There are tons out there, and as I described above I was lucky enough to have someone gift me one. Each of these trimmers will have ruler guide, using this guide you will be able to cut down pattern paper easily to mat onto your card. Some trimmers will have a score blade included (bonus!) There are two general trimmer types: (1) trimmers with cut blades and (2) guillotine style trimmers. I have also purchased a guillotine style trimmer. The trimmers with cut blades are popular, and I personally reach for this trimmer more than my guillotine. The maintenance of this item is keeping replacement cut blades handy. And if you have an older/outdated model trimmer, you might have a harder time finding the correct sized blades to use. If you want to save some future cost, a guillotine trimmer would be the best for you since it is usually self-sharpening (there is minimal maintenance to make sure the cut blades stay sharp). A few cons to having this trimmer, sometimes having too many sheets of paper will jam up cutting arm. Speaking of the cutting arms, this arm comes up when you move it around and can lead to injury if you’re not careful. Some trimmers may have a lock (mine does not – I use a rubber band). If you have little ones or animals you might want to store this in a drawer so they are not accidently injured. Secondary tools – things you want to have but may need to save a little bit before purchasing. This includes: - punches - die cut machine - heat tool Punches: Stick with basic shapes (Circle, star, heart, squares/rectangles) . Down side is that they can be bulky to store. They can also jam up with textured cardstock (ask me how I know!). This was my precursor to purchasing a die cut machine. Die cut machine: Now I know I said above that the paper trimmer ruler will assist you with cutting out paper to mat onto your card fronts, yes, that is still true. But I speak from my experience that sometimes you get tired of fussy cutting, trimming and just doing the math wrong on your measurements! A con is that die cut machine is expensive and bulky (yes, even the more compact ones)! Plus there are many secondary items for purchase and maintenance of the machine. Overall, I use my die cut machine *JUST* as much as I use my scissors. But I also ran into issues in learning how to use the machine (i.e. using the die incorrectly, or cutting paper crooked). Heat tool: This one comes in handy for embossing techniques. A down side is that you need to have an electrical source to use it and have to wait for it to cool down before storage (common sense!). You’ll need to make some free space on your craft table so that the hot air does not warp other items on your desk. I enjoy using this with embossing techniques, but I do not use it as an everyday tool (unless I am doing a set of cards with embossing). You can also use this tool to speed up drying inks and watercolors (sometimes our crafting has to be on a timer!) Do I have all these primary and secondary items, yes, I do. Have I used gift cards and coupons to purchase them, yes, I have! Find a coupon and a sale is great, but doing research on what you *really* need for your crafting experience will help eliminate buyer’s remorse (ask me how I know!) Thanks for stamping by! |
FOLLOW ME
ABOUT ME
Pinterest pinner. Cupcake eater. Book reader. Twitter-er 
ARCHIVES
September 2017
CATEGORIES
All
|