|
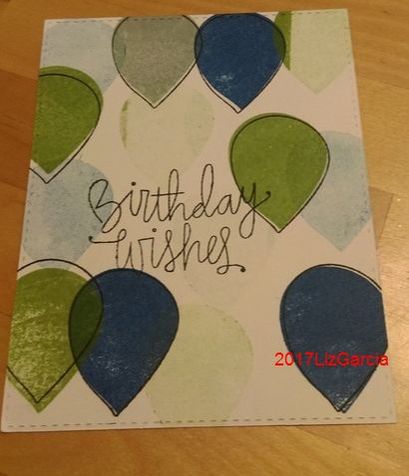
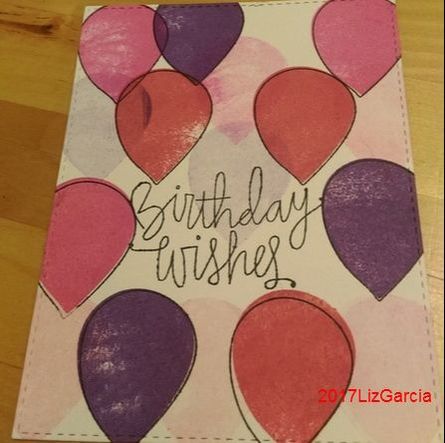
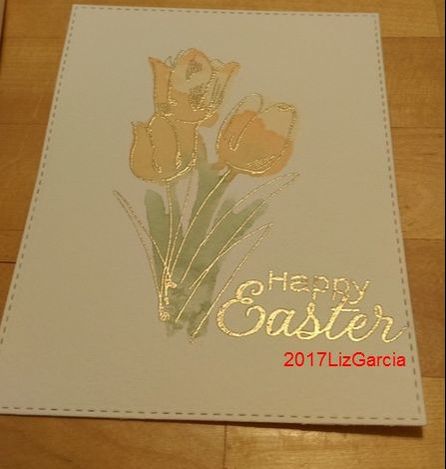
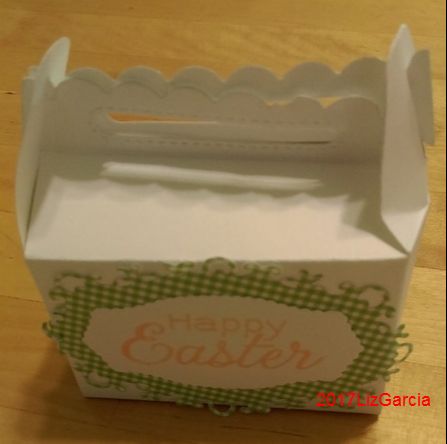
Hello Everyone! Here are some inspirational card panels and project I made for my recent Park and Rec/Meet up class. We made two birthday cards, an Easter card and an Easter "basket". It was a lot of fun creating these cards for the class and I hope these inspire you in your craft space to create something! Thanks for stamping by!
Birthday cards:
Stamp Set Birthday Bits by Simon Says Stamp (Alternate Link Used) Inks: Momento Dew Drops in Lilac Poises, Grape Jelly, Rhubarb Stalk, Bamboo Leaves, Danube Blue, London Fog, for the balloons and Black ink for the sentiment and outline Other supplies needed: Acrylic blocks Easter Card: Stamp Set: Rubber Necker stamp - Tulip Spring 1011; Hero Arts Every day sentiments Inks: Distressed Inks Dried Marigold, Mustard seed, Versamark or clear ink Embossing Powder: Gold by Recollections (Alternate link used) Other supplies needed: Acrylic block or stamping tool, misting/spraying tool, embossing heat tool and embossing buddy Easter Box: Die use: Lawn Fawn Scalloped Treatbox, two pieces needed Embellished with: Spellbinders D-Lites, Happy Easter by Hero Arts Other supplies needed: Bone folder, die cutting machine, double sided tape or glue for assembly Hello Everyone,
Back again with the third part of my series - Beginning Card Making: What I've Learned so Far. This posting is all about paper! We crafters probably have a ton of this in our stash (I know I do!) from scraps, to paper packs, to 12x12 sheets, it's all so pretty while card making. Here's what I've learned so far. 3. Papers come in all sizes and patterns (and are oh so pretty!) Generally you’ll need paper for your card base; you may also use pattern papers and stamped images to complete your card. While I am not an expert on paper, I have found a few things that I like: Card bases: You may hear YTs (YouTubers) reference 80 lb, 110 lb, 120 lb, light, medium or heavy card stock. This is the “weight” of the paper. If you have a few of these different weights in your stash, feel a few of them between your fingers. You will see how they vary in thickness and actual weight. I personally use 80Ib and 110lb card stock for my card bases. I also use 80lb for card panels to do stamping and frequently adhere the 80lb panel to a 110lb base. Card stocks come in various colors! Your options are really endless. The most basic color I reach for in a card base is Neenah Solar White in both weights. Yes, another recommendation by many of the top YTs, and I haven’t been disappointed. To make a U.S.A. standard card, take your 8.5 x 11 card stock and cut it in half: Portrait/top folding case: 4-1/4″ x 5-1/2″ (cut vertically) Landscape/side folding base: 5-1/2″ x 4-1/4″ (cut horizontially) See Kristina Werner’s great blog post on card bases. Pattern Papers: I really love pattern papers. Most pattern paper packs (say that three times fast!) come double sided and are lighter weight than card bases. Some can actually be quite thin. Some companies will put out both a 12x12 and 6x6 versions of their packs. What’s the difference between the two you ask? Well, the 12x2 patterns can sometimes be too “big” for a card base, meaning the image is not sized properly for use on a card base. With a 6x6 pattern paper, the images are scaled with the card maker in mind. It takes some trial and error to find the types of papers and weight you like (i.e. neutrals v. themed packs). The nice thing about using a pattern paper pack is that generally they are grouped to “go together”. Meaning you can mix papers together from the pack and find a really great paper combination. This can save time from hours in the craft store trying to match patterns together. While there are a ton of companies out there with 6x6 pattern paper packs, I have never gone wrong with papers from My Mind’s Eye (admittedly, a Kristina Werner influence!). What papers do you generate to when crafting? 6x6, clean and simple (white) or do you use up those scraps? Leave a comment below and let me know! Thanks your stamping by! ~liz
Hello Everyone,
I have a card to share with you from a recent meetup session. This was a birthday card I made (belatedly) for my SIL's birthday. I used some new products I purchased at the Scrapbook Expo. I love the textured (woven) paper pack I found. Really soft colors and gives some nice dimension. Thanks for stamping by! ~liz 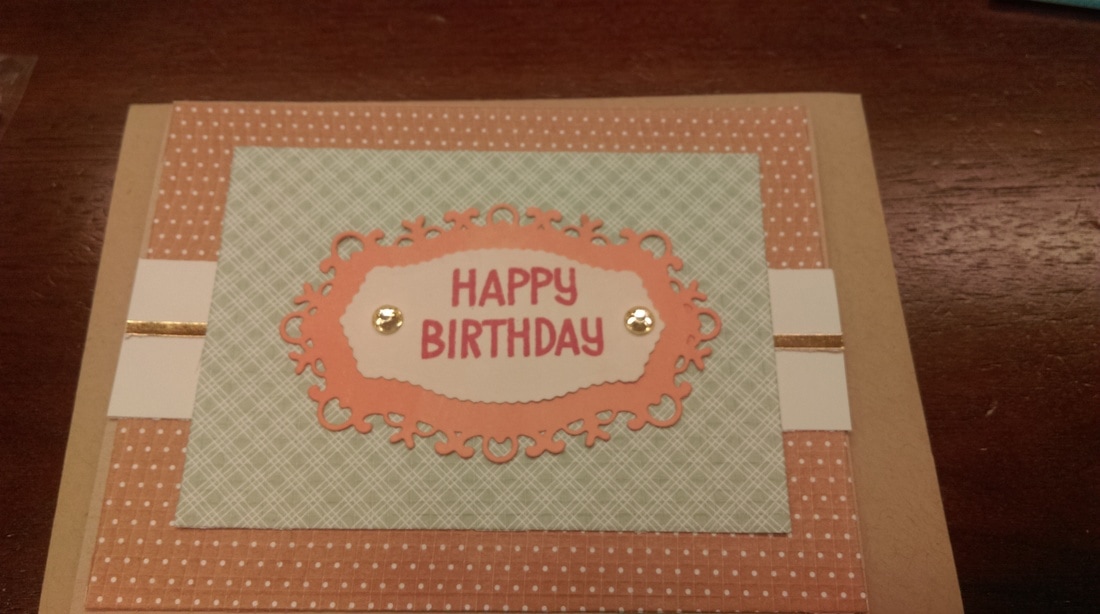
SUPPLIES USED
Hello everyone!
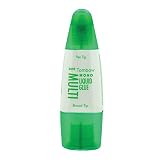
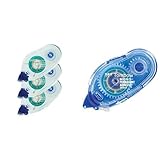
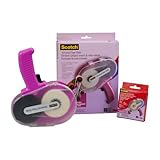
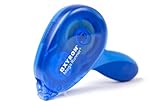
Back again for the second part of my blog series called "Beginning Card Making: What I've learned so far". The first part in the series gave you some background on how I started with card making. It also detailed the various tools you will need to get started (scissors, bone folder, paper trimmer) as well as some items that you can save up for as you develop your techniques (die cut machine, heat embossing gun). Here is the next area that I've learned a lot about: #2. Various adhesives for your various needs! If you search for paper crafting adhesives you come up with a lot of results. From my experience there are three types of adhesives: (1) wet, (2) dry, (3) dimensional. Wet: Just as the name describes, this is liquid glue. Dry: For me, this includes tape runners (hand side), adhesive guns (had a handle!), glue sticks (just like school memories), double sided tape (comes in various sizes) and larger double sided adhesive sheets. Dimensional: This usually has tape on both sides and comes in various sizes and types. Some of this includes glue dots, foam adhesives in squares, circles or foam tape in a “big mama roll” that you can cut into stripes (do not be alarmed, yes, you can find SMALLER rolls and various widths). Just like your tools, there is a high and low price point for all these adhesives. In terms of your craft budget, this is an item you will need to replenish frequently (liquid and tape runners), double sided and dimensional can last a little longer. When I craft, it is not uncommon for me to use all three types of adhesive on the card I just made. My go-to is both the liquid glue and tape runner, but for dimension I will often reach for foam tape. Liquid glue gives you just a little bit of “wiggle room” when putting paper together. Tape runners, double sided tape, and foam tape are less forgiving. A con to using the tape runner and liquid glue is that you will probably get some on your hands and your craft space. Tape runners can gum up over time, or the tape gets jammed up in the spool (ask me how I know!) But without some type of adhesive, your paper won’t stick! I have not personally used the adhesive guns – they seem so big to me. If you are considering it in your craft room, check out Amy Rysavy’s review on the ATG brand or her review on the Xyron Mega Runner (but check out review/recommendations from others too!). See you in the next installment. Thanks for stamping by!
*Note: Affiliate links used
|
FOLLOW ME
ABOUT ME
Pinterest pinner. Cupcake eater. Book reader. Twitter-er 
ARCHIVES
September 2017
CATEGORIES
All
|